DIY Artificial Grass
Artificial grass can be the perfect choice for a low-maintenance yard. Knowing how to install artificial grass comes with challenges and can be difficult if you don’t know the proper steps. DIY Artificial Grass Tips will take you through a step-by-step process to ensure the installation goes smoothly and you have a lush beautiful landscape for years.
What Makes us Unique!
Please Watch our Installation Video
EXPERIENCE THE DIFFERENCE
At Green-R Turf Artificial Grass, we have created a reputation for providing honest, reliable customer service and the highest level of artificial grass products and installation throughout Southern California. Please watch our video…What Makes us Unique.
DIY Artificial Grass Tips
We have the perfect artificial grass for residential homes, community parks, commercial applications, putting greens, and even indoor and outdoor sports facilities and play areas.
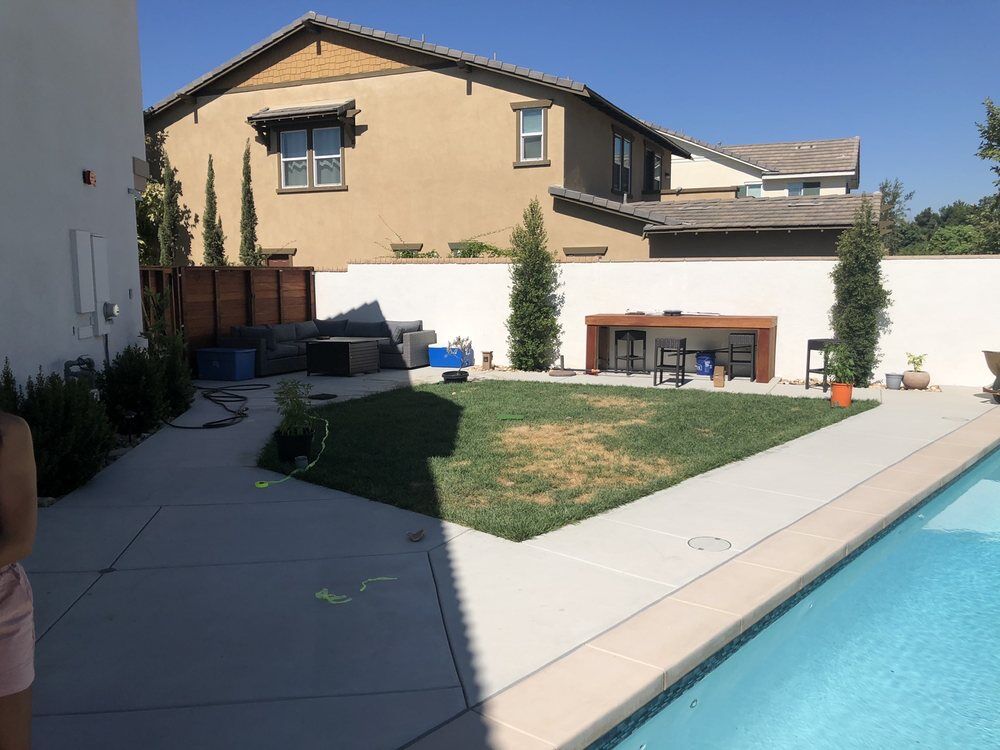
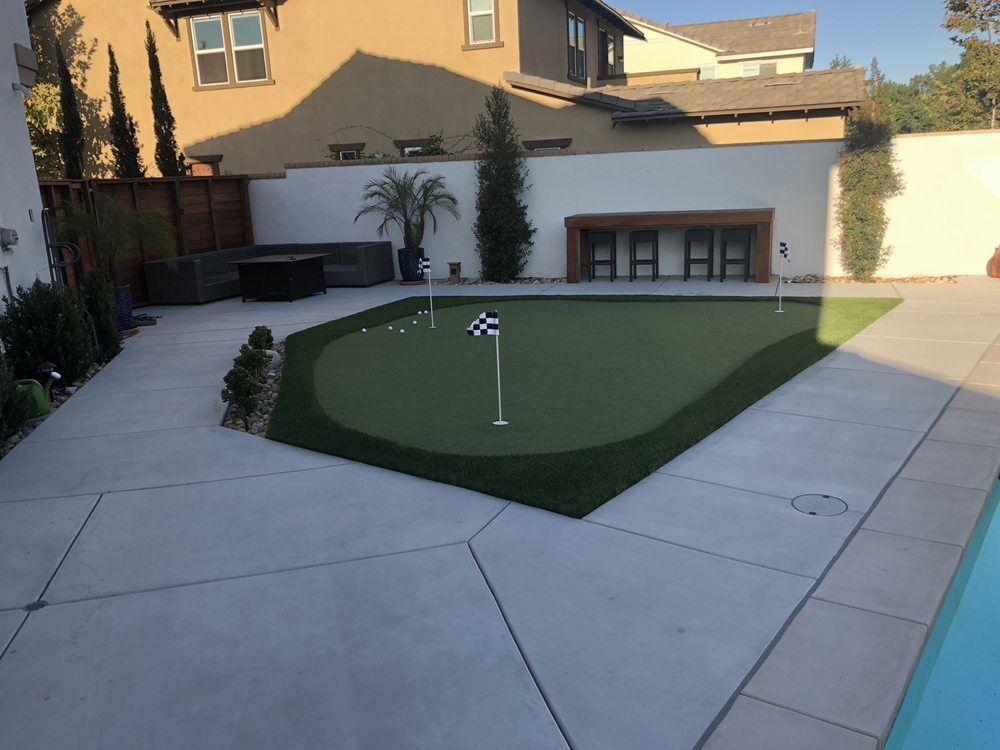
Pine Valley Artificial Grass Fringe, Links Putt Putting Green Installation in Rancho Cucamonga
Before & After Pictures
Step 1: Pre-Installation
Remove existing materials. Demolition involves removing any existing materials, whether soil, weeds, or any substance above ground, by rough grading the area and uncovering everything underneath, including electric wiring, irrigation, pipes, etc.
- Utilize a sod cutter, shovel, and pick axes to remove grass, sod, and vegetation.
- Remove all unwanted tree roots, mulch, and large rocks.
- Clear the ground of any remaining construction debris or obstructions
Cap sprinklers.
In this phase, we also cap any existing sprinklers that will not use. It is essential to cap sprinklers at the pipe level instead of the rising. This avoids any leakage that may occur between the two. Modify sprinkler irrigation or drainage.
Relocate sprinklers, modify existing irrigation lines, and add any required drainage. Be sure to backfill and mark the location of any new sprinklers to avoid depressions or low spots.
When locating any wiring, electrical sprinklers, etc., move it inward and away from any hardscape or perimeter by six to eight inches. This should prevent accidental damage when it comes time to secure the turf edge with nails. Once moved, lay all wiring on top of the subgrade, surfacing with U-nails.
Install Bender Board
Installing the bender board is an essential step as it provides a clean line and separation for the plants, bed, and turf areas.
Step 2: Base Preparation
As we begin the sub-base process, laying down the weed barrier cloth first is recommended. Installing the base material is crucial to maintain the stability and integrity of the turf
Gravel DG Mix
The next step is to install the base material. This is a unique mixture of gravel and sand, which allows for proper drainage. Install 3 inches in depth. For a non-pet landscape installation, should install the base material to a depth of 3 inches.
Properly distribute and level base. Proper base distribution and leveling are important for sloping away from living areas and the installed drainage area. The appropriate base installation ensures the turf will have a smooth level appearance upon completing the project.
Step 3: Compacting Base
Next, we wet the existing base to allow for proper settling.
Compaction
Compact the base by vibrating, tamping, and rolling the gravel. This establishes a solid base to drive the nails while installing the turf. Can do any additional leveling or grading at this time.
I always get AT LEAST 3 estimates but this time I got more since the lead for everyone was fairly long (summer of COVID probably). Anyway, Robert was in the middle price-wise (I usually pick middle one) and he had great reviews so I went with them. I was not disappointed. Whole crew was great! Did a great job with install, was very professional, and guided me thru the process. I highly recommend them. The crew even thoroughly clean up the job site when they were done for the day (common sense that is not so common these days). Turned out great. Thanks!!!
5 Star Review from Greg N. Yelp
Make sure to measure the project area and carefully design the layout to minimize the number of seams in the turf. The best method is to lay the grass out and trace from the top where you’ll be making your cuts.
There are 2 different tools you’ll need for this process.
- Long Pile Carpet Cutter.
- Carpet knife.
All cuts must be made from the back side of synthetic turf to see the stitch rows. System.
Step 4: Custom Fitting Turf
When trimming the turf to fit the area properly, you should over-cut the turf by one inch along the edges. This provides the excess turf necessary for tucking. When in doubt, cut the turf fatter, as you can always trim it later. When seaming, it is recommended to use the seaming tool. Once cut using the seaming tool, line it up accordingly.
Cutting the Turf
Use the “S: Seam Tool: Cutting the turf in an s-shape avoids the possibility of the turf pieces pushing against each other’s angles, which in many cases would create the illusion of discoloration in the area of the seam. Install nails every six inches along the edge. Install nails along the border by placing them six inches apart, driving them down ¾ of the way.
Staples or Nails
Nails or Staples used in the field should be applied as necessary to prevent turf movement. As before, drive the nails down ¾ of the way. When finishing the nails, separate the grass to avoid pulling down the blades with the nail. The nail is then hidden with the grass blade at the base of the mat.
Don’t drive the nails too deeply in the ground as it will cause the turf to be pulled down, creating dimples on the surface—secure seams with U-nails every six inches. During the seaming process, six-inch u-nails are used to join the turf together.
The two seams are butted against each other with u-nails spaced six inches apart. The finishing process with the u-nails is the same as before. Separate the grass to avoid the blades being pulled down with the u-nail. The u-nail is then driven to the same mat level and then hidden with the grass blades.
Step 5: Tucking Turf Edges
Tucking the turf involves hiding the edges of the turf against any hardscape or edging border by using a metal bar called a wonder bar. The side edges of the turf give it an excellent clean plush look.
Step 6: Applying Filler
In this phase, you use a powder brush. The heavy bristled brush is used to pull against the grain of the grass, causing it to stand up in preparation for applying the Infill sand. Next, apply the infill sand.
The Zeo Clean sand is anti-bacterial and not harmful for pets or children. Spread the granules evenly throughout the turf installation. This acts as a balance to hold the blades upright and gives the turf more weight.
Step 7: Final Groom
The final grooming step involves power brushing the turf once again, lightly, to force the Zeo Clean Infill granules into the base of the turf for settling and optimal stability. Follow up the process to remove any excess debris.
Artificial Grass Landscapes For Homes & Businesses
Golf & Putting Greens • Playgrounds • Sports • Dogs & Pets
Add timeless appeal that complements traditional architecture and modern homes. Artificial Grass, Paving, and natural stones are great options for patios in Southern California. As pavers and artificial grass are more durable than brick or concrete, extend your outdoor living space or create a new area for a fire pit or an additional patio.
Our Artificial Grass Landscapes are ideal for high traffic areas and are built to maintain its beauty, flawless appearance year-round. No more mowing, fertilizing, and watering, ever. Bring the heat, the cold, let it rain, or even snow. No matter what the weather conditions, your yard remains perfect. And because it requires minimal water, you can expect lower water bills year-round.
Our Turf Products
We strongly believe that it is essential to do our part to protect our environment to the best of our ability. For this reason, our manufacturer commits to continue pursuing sustainable options in our manufacturing practices, only using raw materials that will reduce or eliminate any negative impact on our planet and, most importantly, recycling.
While much of the turf offered today comes from China, we are proud to say that all Green-R Turf products are manufactured in the U.S.A. Our manufacturer only uses the highest quality raw materials, and we are entirely in control of developing and producing our products from start to finish. If you want to guarantee you are buying a quality product, look for products that say “Made in the U.S.A.” on them and are sold by reputable companies with strong ties to the industry.
Maintaining Your Artificial Turf Landscape is Simple
Artificial grass is low-maintenance, not no-maintenance. You will need to complete a few easy maintenance tasks to keep it looking its best:
- Rinse It: Airborne dust and dirt can settle on your artificial grass and make it look dingy. Fortunately, cleaning it off is as simple as rinsing with water.
- Brush It: Heavy foot traffic can cause artificial grass to look flat and matted. To prevent or correct this, brush it against the direction of the blades with a plastic-bristled brush. That will get the edges standing up perkily again.
Power Brooming:
When synthetic turf fibers are not brushed vertically, they create a shiny appearance. This is due to the reflection of light. Defibrillation diminishes this shiny look by placing the fibers in an upright position and thereby reducing the amount of glare from the sun. When done correctly, defibrillation creates a much darker and plusher appearance.
- Alternatively can do it mechanically with a motorized broom. Or with a rake and/or push broom.


